

Some of my Favorite Designer Papers that Are retiring, get them before they’re gone:
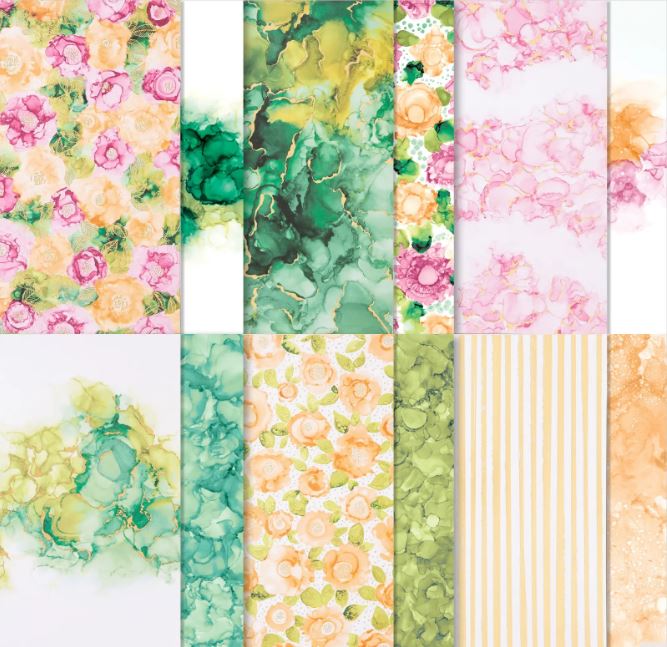
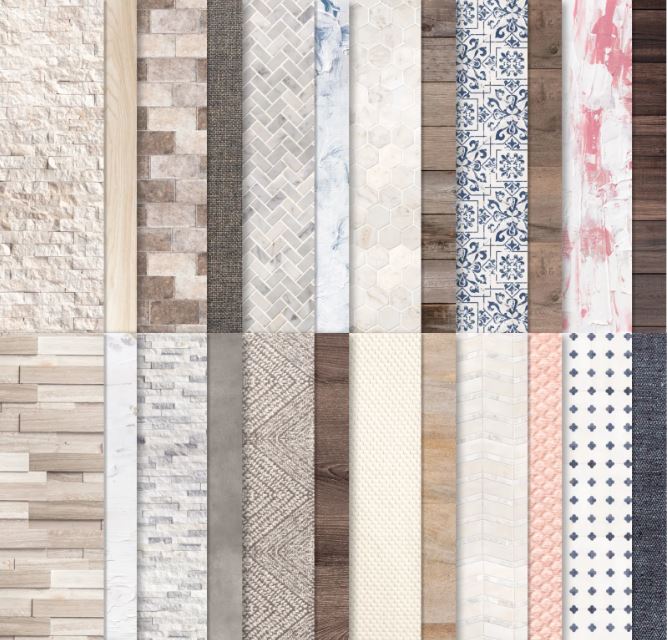
Some of my Favorite Designer Papers that Are retiring, get them before they’re gone:
Catch You Later was a fun stamp set to play with this month! These images are so cute and they make great cards for the animal lover in your life! You can earn it for FREE when you shop with me! (details below)
Everything is all cut for you, you’ll just need to use your own ink, stamps, adhesive, and markers, then assemble!

Card Kit cost without placing an order: $25, plus $5 shipping = $30
Members of my Sage Stampers Team can get their kit for $20, plus $5 shipping = $25
Card kit contains supplies to complete 8 cards (2 each of 4 designs).
Each kit will contain pre-cut cardstock, pre-cut designer paper, punched and die cut shapes, envelopes, printed instructions, and access to a private video tutorial! You’ll use your own ink, adhesive, stamps and dies.
Stamp Set: Catch You Later (stamp set)
Below is a list of Products that I used to complete these cards.
(You can use whatever you have on hand or purchase what you need!)
Ink: Memento
I used the following Stampin’ Blends to color the images; Pool Party, Smoky Slate, Crumb Cake, So Saffron, Daffodil Delight (or Mango Melody), Bronze & Ivory, and Old Olive
Tools & Misc. Items:Wink of Stella, Take Your Pick Tool, Dimensionals, Mini Glue Dots, Multipurpose Liquid Glue, Paper Snips
Hey there! Did you catch my Facebook Live? I made a ‘Pocket Fun Fold Card! This is a really quick and easy ‘fun fold’ card. It’s a great way to use up your Designer Papers too! I made one from start to finish to show you how to make it, but then finished 2 others as examples! I’ve uploaded the video to my YouTube channel Donna’s Creative Space, but you can click on the link below to watch. While you’re out on my YouTube channel Donna’s Creative Space, please like, share and SUBSCRIBE! Thank You, I really do appreciate it!
Here are the measurements and cutting instructions to make the base of the ‘pocket’ and the card to slip inside!
Pocket: Designer Series Paper 6 x 9 1/4. Score on the long side at 2 3/4, and 7. Score on the short side at 5/8.
Card Insert: Coordinating Cardstock 4 x 5 1/4, Basic White 3 3/4 x 5
Decorate and Stamp as desired!
Shop my online store www.donnsingleton.stampinup.net

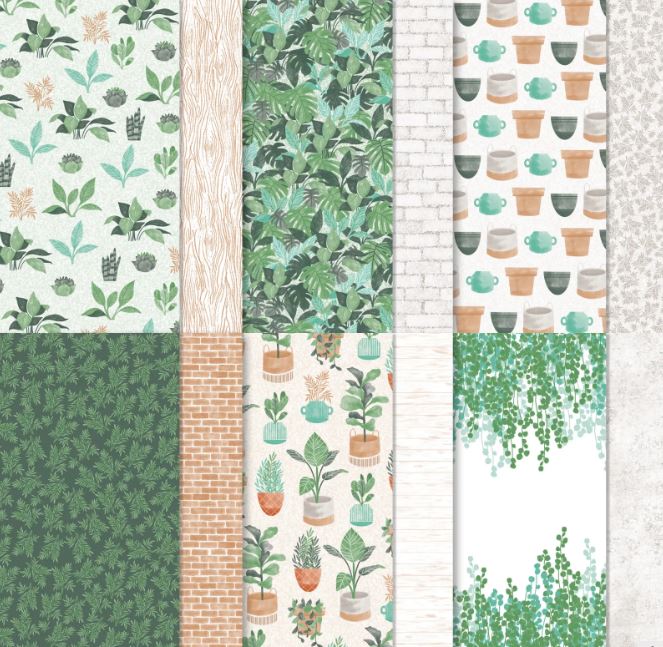
April Card Class TO GO Kit “Plentiful Plants”
You can earn this CCTG kit for FREE when you shop with Me!
Place on online order of $35 or more (before tax & shipping),
April 1st -15th and use my Host Code: Z4PBSWGG
Orders of $50 or more will receive a pack of embellishments!!
**If your order is $150 or more, don’t use my code, you’ll be considered the host,
and you can collect the stampin’ rewards on your order!
You’ll still get my CCTG kit and the embellishment pack!!
Card Kit without purchase: $25, plus shipping
Members of my Sage Stampers Team can get their kit for $5 off, plus shipping.
Card kit contains supplies to complete 8 cards (2 each of 4 designs).
Each kit will contain pre-cut cardstock, pre-cut designer paper, punched and die cut shapes (unless you have to stamp first), ribbon, twine (I’ve even tied the bows!), envelopes, printed instructions, and access to a private video tutorial! You’ll use your own ink, adhesive, stamps and dies.
Stamp Set: Plentiful Plants stamp set (stamp set)
Bundle: Plentiful Plants Bundle (stamp set & dies)
Below is a list of Products that I used to complete these cards.
(You can use whatever you have on hand or purchase what you need!)
Ink: Evening Evergreen, Just Jade (retiring soon), Cinnamon Cider (retiring soon), and Basic Gray
I used the 2021-2023 In Color Jewels (retiring soon) to decorate my cards.
Tools & Misc. Items: Wink of Stella, Take Your Pick Tool, Dimensionals, Mini Glue Dots, Multipurpose Liquid Glue, Paper Snips
Shop my online store www.donnsingleton.stampinup.net
Hey there! Did you catch my Facebook Live, I made a 3-Panel ‘Screen’ Fun Fold Card! I used the gorgeous Expressions in Ink Specialty Designer Paper (retiring soon!) and sentiments from the Pansy Patch stamp set. It’s really a Z-Fold card with a twist. I used quite a few retiring items that will be available through May 2nd 2022, or while supplies last. The FB video has been uploaded to my YouTube channel Donna’s Creative Space, but you can click on the link below to watch. While you’re out on my YouTube channel Donna’s Creative Space, please like, share and SUBSCRIBE! Thank You, I really do appreciate it!
I started with a piece of Just Jade cardstock 5 1/2 x 10 1/2. Then I used my Stampin’ Trimmer to score on the long side at 3 1/2 inches and 7 inches. This created three 3 1/2 inch sections. I used the Everyday Label punch to punch out a small portion at the bottom of each panel. This created the look of ‘legs’ on the bottom of each ‘screen’ panel.
I cut 2 pieces of Expressions in Ink Specialty Designer Paper at 3 x 4 1/2 and layered them each on a piece of Shaded Spruce cardstock cut to 3 1/4 x 4 3/4 using seal adhesive. I adhered these 2 layered panels to my card base in the first 2 sections using multipurpose liquid glue. I stamped a sentiment using Just Jade ink on a piece of 3 x 4 1/2 piece of Basic White cardstock, then adhered a 1/2 inch strip of designer paper to the side just to add a little color.

I cut a Just Jade cardstock (retiring) die shape from the Hippo and Friends Dies (retiring) and mounted on the front panel using dimensionals. Then I cut a Basic White cardstock small Scalloped Rectangle from the Stitched So Sweetly dies (retiring) and stamped sentiment on it using Just Jade ink (retiring). I adhered the sentiment to the Just Jade shape using seal adhesive.

I used a mini glue dot to adhere a bow made with the Just Jade & Gold ribbon (retiring). I cut a couple of Magenta Madness cardstock (retiring) blossoms using the Strawberry Builder punch (retiring), and adhered them using the mini glue dots also. I added a few Pale Papaya jewels to the center of the blossoms. I created a few more of these blossoms and added them to the middle and last panel for decoration.
Shop my online store www.donnsingleton.stampinup.net
