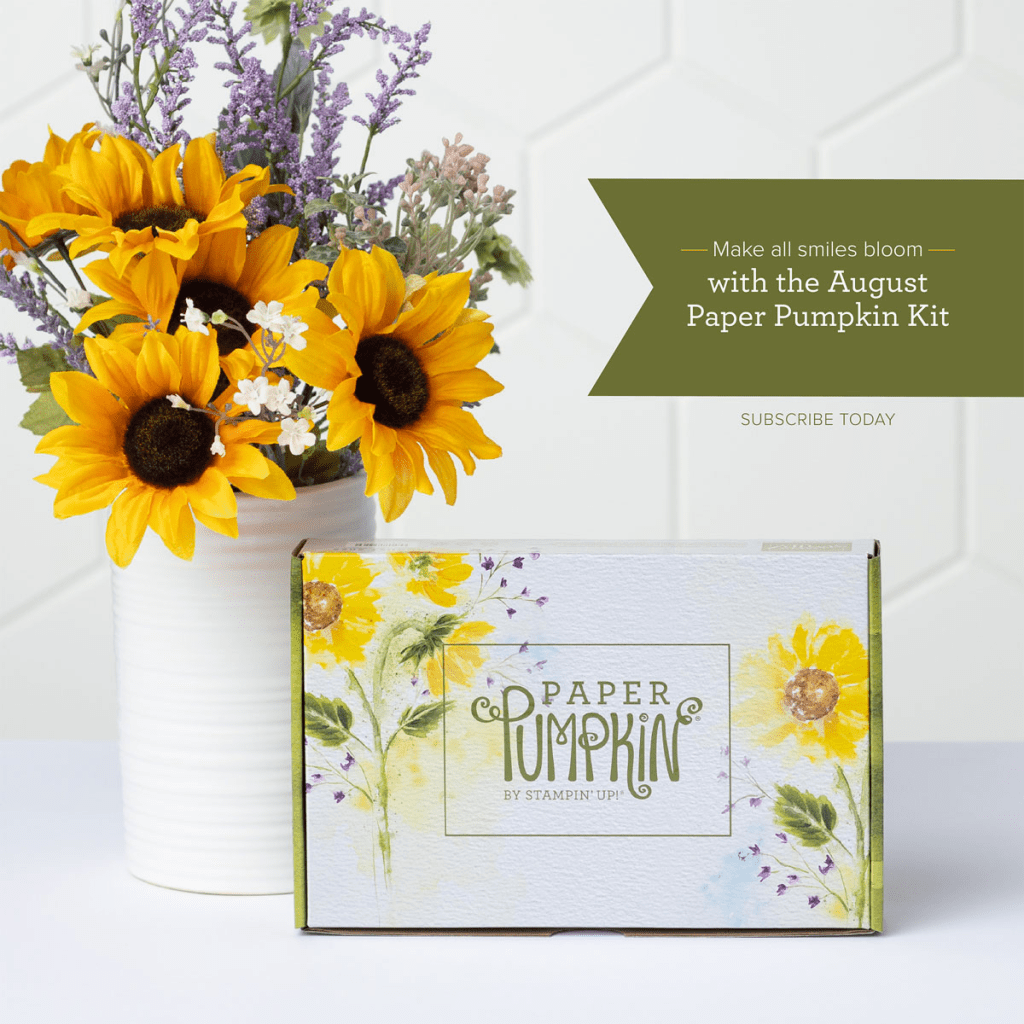
Here’s my FB Live (from earlier this week) on my Sweetest Sunflowers August Paper Pumpkin Kit Unboxing! My camera battery died during the making of the 3rd card so the video is in 2 parts! Part 1 has most of the card making. Click on the photo below to watch part 1! You can watch part 2 by clicking HERE, note, unfortunately part 2 audio was pretty choppy, but luckily part 1 was okay!
Sweet Sunflowers – August Paper Pumpkin Unboxing and putting the cards together
I hope you enjoyed my video! Please subscribe to my YouTube Channel while you’re watching! If you’d like to subscribe to the Paper Pumpkin monthly kit, for 1 month or more, you can click this link to subscribe under me. In order to get each month’s kit, you’ll need to be subscribed by the 10th of that month! Click HERE to subscribe!
Each month I’ll be sending a tutorial to my PP subscribers containing 4 alternate projects to make with your Paper Pumpkin. This tutorial is a collaboration with 3 other demos and exclusive for our subscribers! You can also purchase the tutorial for $10 if you are not a subscriber under me, just EMAIL ME and I’ll tell you how to purchase it!
Hey, did you catch my FB Live last Friday? I’ve added the link below just in case you missed it! All of my FB Lives are uploaded to my YouTube Channel: Donna’s Creative Space if you missed any! You can click on the video link below to watch my latest! In this video, I did a version of the Stack, Cut, & Shuffle technique. In my quilting days we called it Stack & Whack! You can use as many pieces of Designer Paper mats for this technique too! I used 2 pieces of coordinating designer paper from the Rings of Love DSP pack. This is a FREE pack of paper that you can earn with a $50 order during Sale-A-Bration (sale ends at the end of August!)
Stack, Cut, & Shuffle Designer Paper Technique!
You can watch how I did this in my video, but here are the basics! All measurements are in inches!
I used 2 pieces of coordinating Designer Paper and cut them both to 4 x 5-1/4 mats. (This will make 2 beautiful cards. If you want to make 4, use 4 pieces of DSP).
You’ll also need 2 pieces of Basic White 4 x 5-1/4 mats.
Stacking & Cutting: I took my DSP mats, and I Stacked them up, and put them vertically in my paper trimmer. I cut them (both at the same time) at 2-1/2. I slipped the ‘pile’ on the right off to the side. Took the pile on the left and rotated it to the left once to make it horizontal, then cut at 3 inches. Carefully set these two sections aside back into their original position before cutting them (vertically). I took the thinner pile that I set aside earlier, rotated it left so that it was positioned horizontally in my paper trimmer, and cut at 2 inches. Took those two cuts and put them next to the others so they were positioned back in the pile as if the 2 pieces of DSP were never cut! So that’s the Stacking and Cutting Portion!
Now we have to Shuffle! Going clockwise from top left of the pile, top left section being pile #1, and to the right will be pile #2, then below that will be pile #3, and to it’s left, pile #4. Leave pile #1 alone. On pile #2, take the 1st piece of DSP and moved it underneath the pile. Pile #3, take the 1st piece move it underneath, then take the 2nd piece and move that underneath as well. Pile #4, take the 1st piece move it underneath, then take the 2nd piece and move that underneath, and lastly take the 3rd piece and move that underneath! Your pile should now have a different piece of DSP in each of the 4 sections.
Re-assembling the DSP mats! After I Stacked, Cut, and Shuffled my 2 pieces of Designer Paper. I went in order, section #1 through #4, and adhered them to a 4 x 5-1/4 basic white mat. Always take the top piece of DSP in each section as you go. I used multi-purpose liquid glue to adhere my pieces because it gives you a little wiggle room to re-assemble them back into a 4 x 5-1/4 shape on the white mat.
The ‘Quilting’ (die cutting): The fun part was to run each of these assembled mats through my Cut & Emboss machine using the Stitched Greenery Die. This die doesn’t cut apart any shapes, but it cuts a design into your paper. This gives it the great stitching to make it look quilted! You can go ahead an decorate your card front any way you’d like. The star of this card is the mat that you’ve created and ‘quilted’!!!
I hope you enjoyed my video and will try this great technique! Please subscribe to my YouTube Channel while you’re watching!
LAST CALL to earn my “Cup of Tea” Card Class TO GO kit for FREE when you shop with me! MONDAY AUGUST 15th is the last day to shope and get it for FREE! I used the adorable Cup of Tea Bundle to create these 4 cards!! The kit includes supplies to make 8 cards, 2 each of these 4 cards, plus printed instructions and a link to a private video tutorial!
You can earn this CCTG Kit for FREE when you shop with Me! Place on online order of $50 or more (before tax & shipping), August 1st-15th and use my Host Code:GGHUERP2
Orders of $75 or more will receive a pack of embellishments!!
*** When you’ve earned my CCTG for 6 consecutive months you’ll receive $25 in FREE product of your choice from me! ***
**If your order is $150 or more, don’t use my code, you’ll be considered the host, and you can collect the stampin’ rewards on your order! You’ll still get my CCTG kit and the embellishment pack!!
Card Class TO GO Kit contains supplies to complete 8 cards (2 each of 4 designs). Each kit will contain pre-cut cardstock, pre-cut designer paper, punched and die cut shapes, ribbon & twine (I’ve even tied your bows), envelopes, printed instructions and link to a private video tutorial! You’ll use your own stamps, inks, and adhesive. I will be doing the punching and die cutting except in the case where you’ll have to stamp then die cut, you’ll need the dies, or you’ll have to fussy cut. I’ve even tied your bows! Kits will ship after the 15th of the month.
Stamps and Dies used: Cup of Tea Bundle (stamp & dies), Cup of Tea (stamp only), Tea Cup Dies if you don’t get the dies, you’ll need to cut out your stamped images by hand.
Check out my latest Friday FB Live! It’s uploaded on my YouTube Channel: Donna’s Creative Space. You can click on each of the video link below to watch!. Please subscribe to my YouTube Channel while you’re watching! I used the Good Feelings stamp set. It has some nice big sentiments which are great for filling a large area! I also used the Rings of Love Designer Series Paper that you can get for FREE with a $50 order!
Easy Fun Fold card Using Good Feelings stamp and the Rings of Love FREE Designer Paper!
I’ve got a few Facebook Lives that I didn’t post about! They’ve all been loaded on my YouTube Channel: Donna’s Creative Space. You can click on each of the video links below to watch them. Please subscribe to my YouTube Channel while you’re watching!
Just under a week to earn my “Cup of Tea” Card Class TO GO kit for FREE when you shop with me! I used the adorable Cup of Tea Bundle to create the 4 cards in this kit!! The kit includes supplies to make 2 each of these 4 cards, plus printed instructions and a link to a private video tutorial!
You can earn this CCTG Kit for FREE when you shop with Me! Place on online order of $50 or more (before tax & shipping), August 1st-15th and use my Host Code:GGHUERP2
Orders of $75 or more will receive a pack of embellishments!!
*** When you’ve earned my CCTG for 6 consecutive months you’ll receive $25 in FREE product of your choice from me! ***
**If your order is $150 or more, don’t use my code, you’ll be considered the host, and you can collect the stampin’ rewards on your order! You’ll still get my CCTG kit and the embellishment pack!!
Card Class TO GO Kit contains supplies to complete 8 cards (2 each of 4 designs). Each kit will contain pre-cut cardstock, pre-cut designer paper, punched and die cut shapes, ribbon & twine (I’ve even tied your bows), envelopes, printed instructions and link to a private video tutorial! You’ll use your own stamps, inks, and adhesive. I will be doing the punching and die cutting except in the case where you’ll have to stamp then die cut, you’ll need the dies, or you’ll have to fussy cut. I’ve even tied your bows! Kits will ship after the 15th of the month.
Stamps and Dies used: Cup of Tea Bundle (stamp & dies), Cup of Tea (stamp only), Tea Cup Dies if you don’t get the dies, you’ll need to cut out your stamped images by hand.