
This week during my FB Live on Donna’s Creative Space Business Page I used the “Sweet Conversations Bundle” from Stampin’ Up! to make this fun Pinwheel Card!! OMG I had a ball decorating each section of the card. This pinwheel card fun fold looks like it would be hard to do, but it’s really easy to make. It fits into our normal medium size envelopes so there’s no problem mailing it, just be sure to not use too many dimensionals!! The basic supplies and measurements are below. You can watch the replay of my card tutorial video or head on over to my Donna’s Creative Space YouTube channel to watch it! Please subscribe to my channel while you’re there!!
This pinwheel card is built on a ‘core’ of designer paper with 4 sections of cardstock attached, you’ll decorate each section with designer paper and bits and pieces that you’re die cut, punched, or straight cut.
You start with a piece of Designer Paper that is 4 1/4 x 4 1/2. Score on the 4 1/2 side at 1, 2, 3, and 4. You’ll be able to see the inside of the ‘core’ so cut your paper accordingly! Put adhesive on the 1/2 section and fold the ‘core’ into a long thin open ended box!
There are 4 sections of the pinwheel card, so you’ll need to cut 4 pieces of cardstock. Each section is created using a piece of cardstock that is 2 3/4 x 4 1/4. You’ll adhere each piece of card stock to the ‘core’ to create the pinwheel effect. I used Tear & Tape to attach my cardstock, but you can use any strong adhesive that you have.
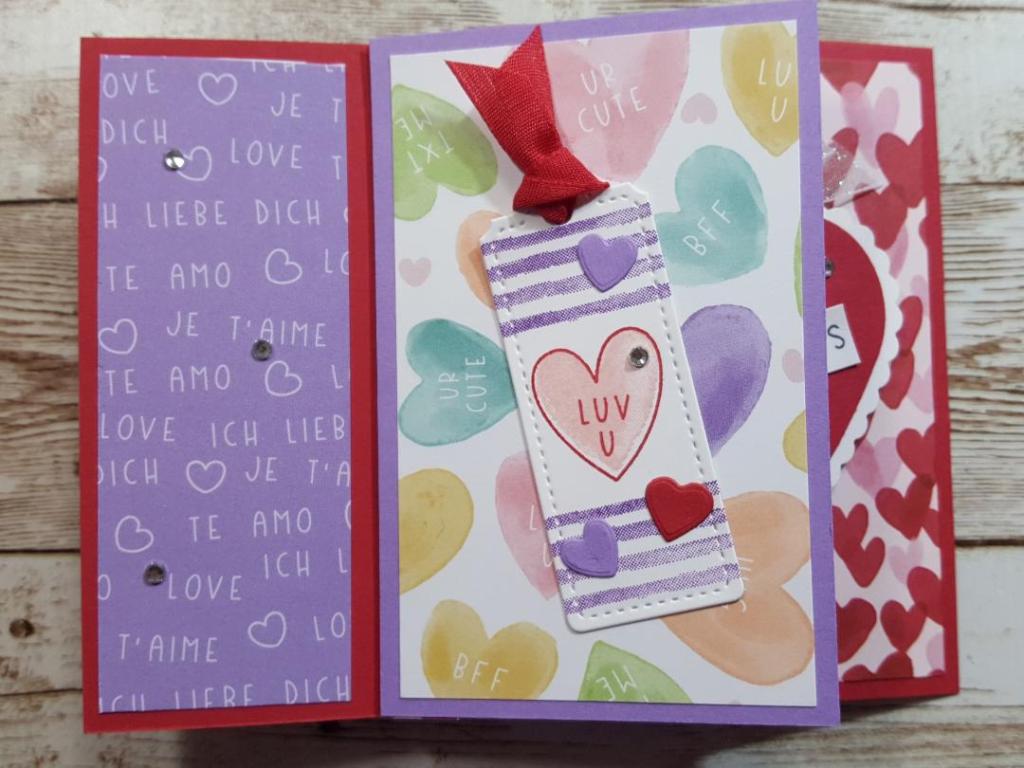
Each section of the pinwheel card is decorated using 2 pieces of Designer Paper, the left side is cut at 1 1/2 x 4, and the right side is cut at 2 1/2 x 4. So you’ll need 4 of each size per section! Coordinate your cardstock and designer series paper, this is where Stampin’ Up! products come in handy, they do all the coordination for you!! I used the Sweet Talk Designer Series Paper on my project! You’ll need to die cut hearts, tags, and miscellaneous labels and shapes to decorate your sections. Then add something sparkly like Rhinestones to give it a little bling! Below are some snapshots of my sections! This card fits perfectly into our Medium Size Envelopes, just don’t add too many Dimensionals on your sections and you won’t have trouble mailing it! Watch the video to see how I put it all together. If you try this with another designer paper, please post your project on my facebook Donna’s Creative Space Business Page!


Shop my online store www.donnsingleton.stampinup.net
*Get a pack of embellishments for FREE
when you place an order with me between January 16th and 31st,
and purchase $35 or more in product, and use this host code: P44UPSTV
